I haven't posted anything in forever, because things have been too hectic. I have been creative, but it hasn't fit the criteria. Plus, I haven't had time to write about it.
I decided to write up a recipe tonight because I always have to look up what I want and then change it to fit our family's needs. Really, I have to look it up because I can't remember the temperature and time for the oven. I figure if I post my recipe here, I won't have to go searching for the one that's the closest to what I need.
This is a Shepherd's Pie recipe that is safe for my husband's IBS and my acid reflux, so there are no onions or tomatoes or any fancy spices or veggies.
1 lb. ground beef
1 can cream of mushroom soup
1 small can peas/carrots
1 small can green beans
4-6 servings instant mashed potatoes
shredded cheddar cheese
garlic (not too much)
salt
pepper
1. Preheat the oven to 350 degrees.
2. Brown the ground beef. I seasoned the beef with the garlic, salt, and pepper while it browning.
3. While the beef is cooking, start working on the instant potatoes. You don't have to do it at the same time, but it saves overall prep. time.
4. Once the beef is browned and drained, mix it with the soup and veggies. (I do this in the skillet, so I don't have to get something else dirty.)
5. Smooth the beef/veggie mixture in the bottom of a 2-quart casserole pan. Top with cheese. (I just got this idea tonight from http://shepherdspierecipes.blogspot.com/ Recipe #3. The X-man loves his cheese!)
6. Hopefully, your potatoes are about finished by now. When they are, spread them out on top of the cheese and put more cheese on top of that!
7. Put the whole thing in the oven for 30 minutes or until the cheese starts to bubble.
If your house is anything like mine, this is the time everyone gets really happy!
Friday, July 13, 2012
Wednesday, May 30, 2012
Project #3- Paper - something unexpected
Day 3's assignment is to "Make something out of paper, but don't use scissors or glue or draw on it." Oh, no! I did paper yesterday-and I didn't use scissors or glue! Although I did draw on my ladybugs, and the bunny had to be cut. Author Noah Scalin (365: A Daily Creativity Journal) did tell me that I didn't have to know origami for this project, so I got creative and did something else.
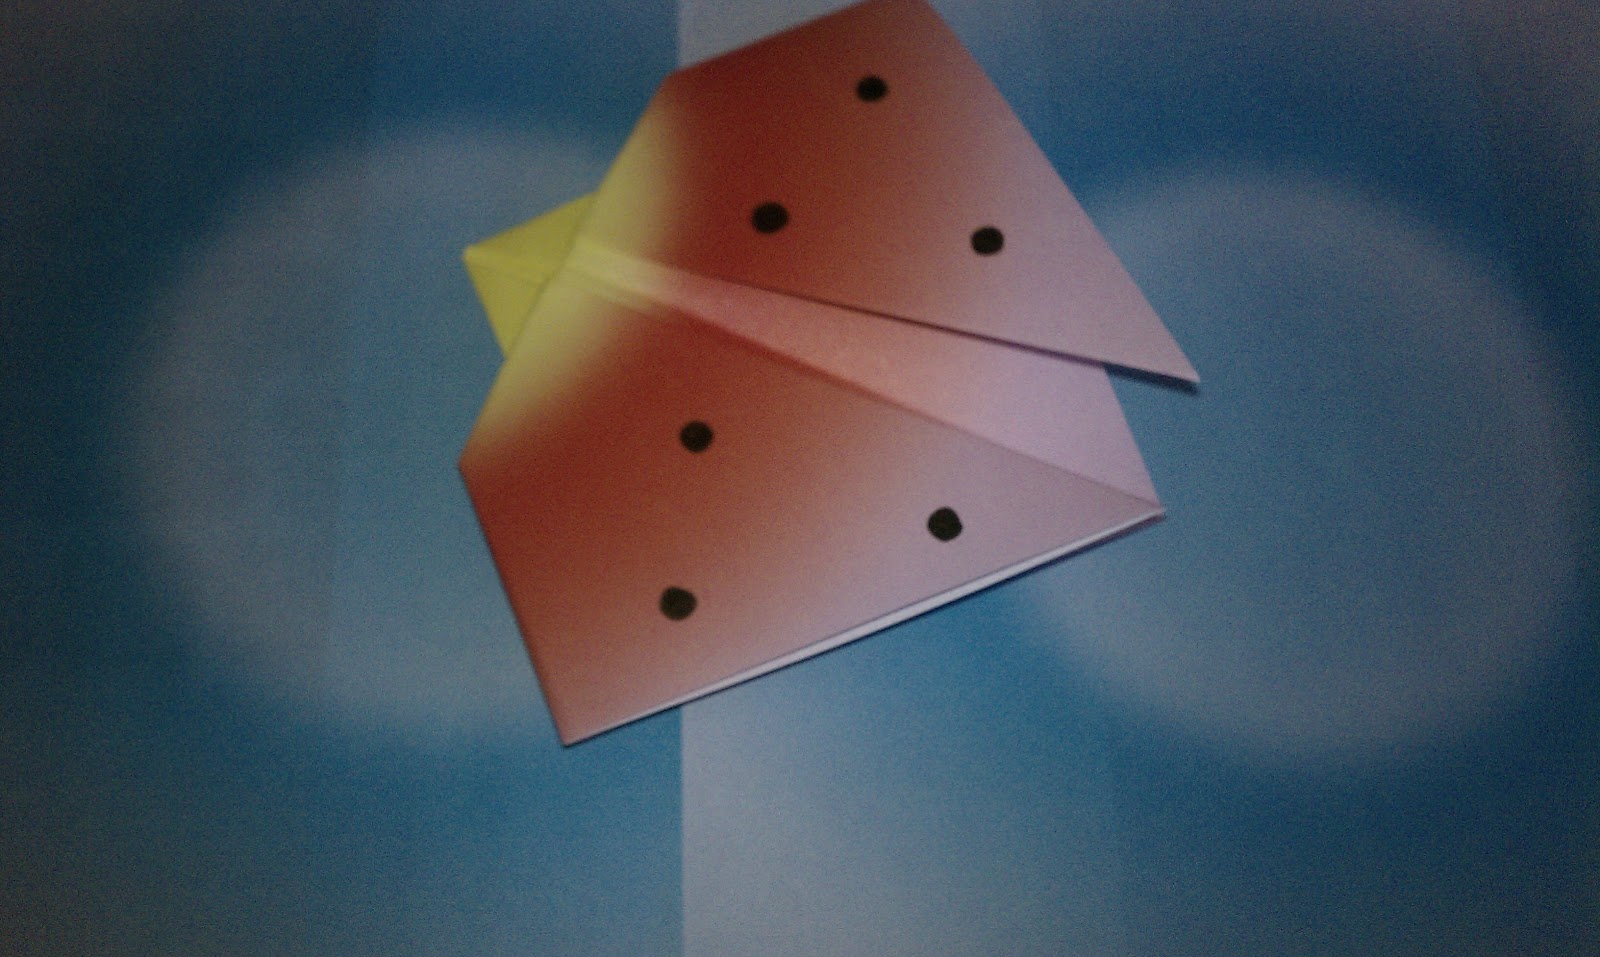
I borrowed some of the X-man's origami paper and started tearing. I didn't want just a flat ladybug, so I thought, "How can I make it stand up?" I tore an orange body shape, and used a push pin to make holes to attach the legs. I then made the legs by tearing strips of paper and folding them in half three times, making them really skinny, but also pretty strong. As I was looking at my l-bug, I thought, "I need some black in here," so I tore off some of the orange to let some black show and tore a black piece big enough to be the body and head.
I also decided this was a good way to get some dots, so I used the push pin to poke enough holes to tear out bigger, dot holes. Then I poked holes in a line to show the line between the wings.
After attaching the legs- poking them through holes and folding them back on themselves to support the body- I tore out a green leaf for the l-bug to call a perch and, maybe, munch a little.
 |
| For some reason, the camera on hubby's phone wouldn't take a very clear picture. I like how bright the colors look, though. |
 |
| This picture lets you see how he's made a bit more easily, even though it's dark. |
Tuesday, May 29, 2012
Project #2- Favorite Animal
It took me longer than a day to get this one done, because we went out of town and because of trying to think of how to make my project fit the assignment. I considered doing something with ladybugs and monkeys. (I LOVE sock monkeys!) I also thought about bunnies, because I did a bunny for the first project. Today, however, I was cleaning in the dining room and found some origami paper. I knew immediately what to do. I wasn't sure what the finished product would be--I never do--but I had the spark!
I grabbed my package of paper and some more for the mini-man. (It's mostly his paper. I only have the one set for me.) I hit the computer for some origami ladybug directions. (Too many sites to link here. Just do a search for origami + whatever you want to make.)
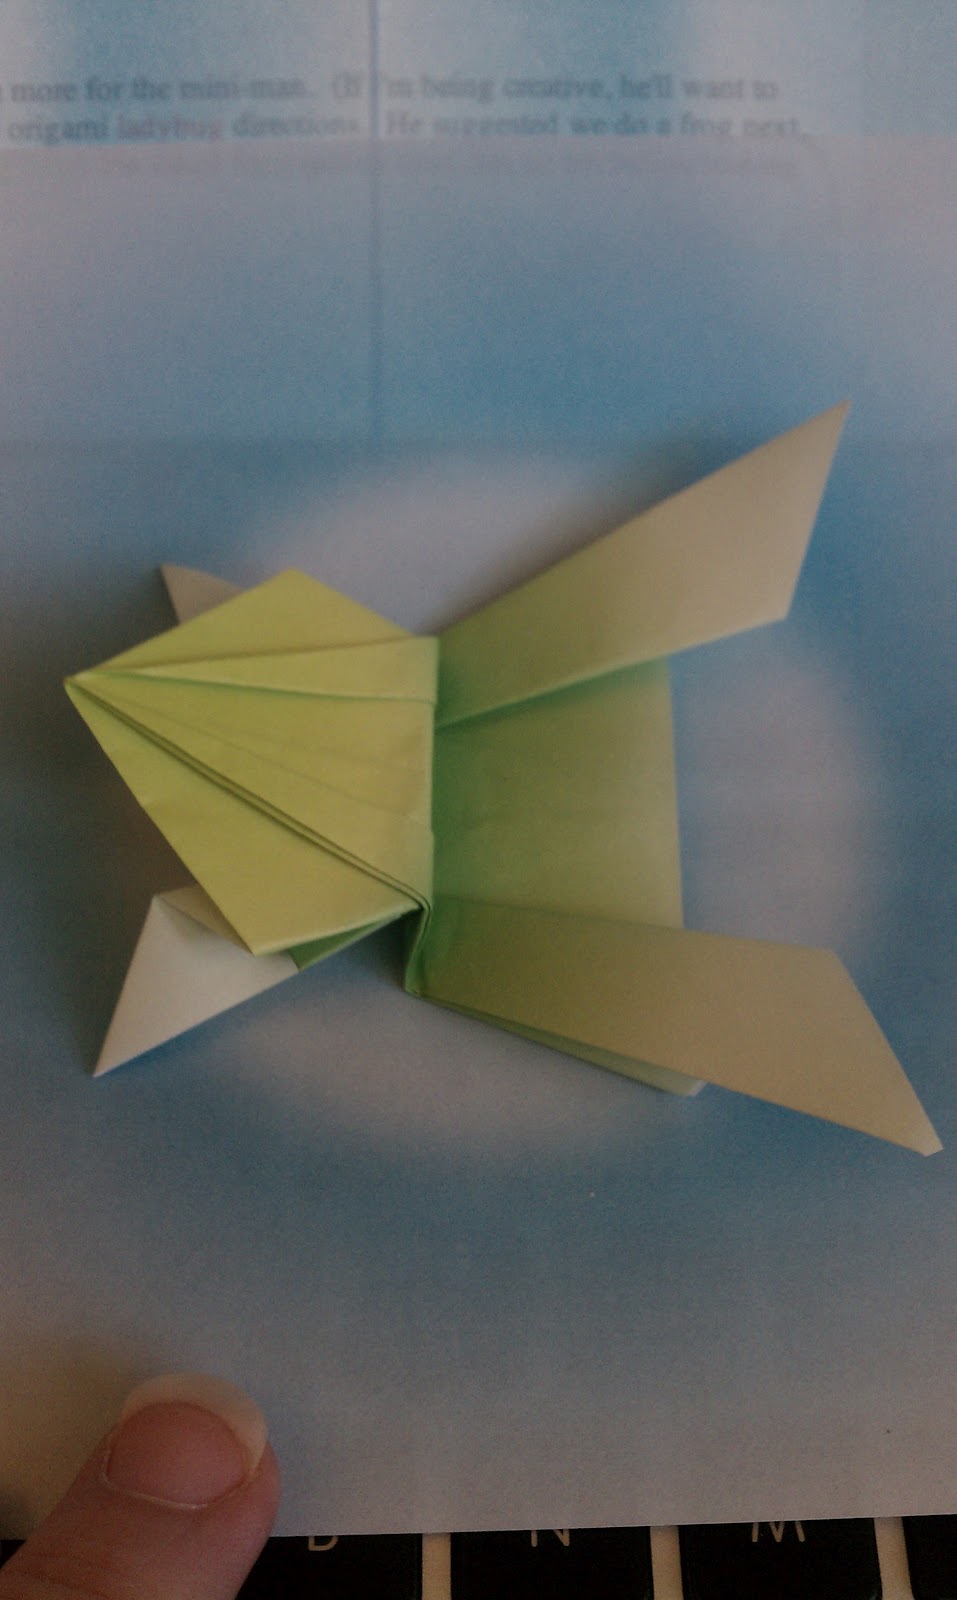
He suggested we do a frog next. The search results even gave us a jumping frog!
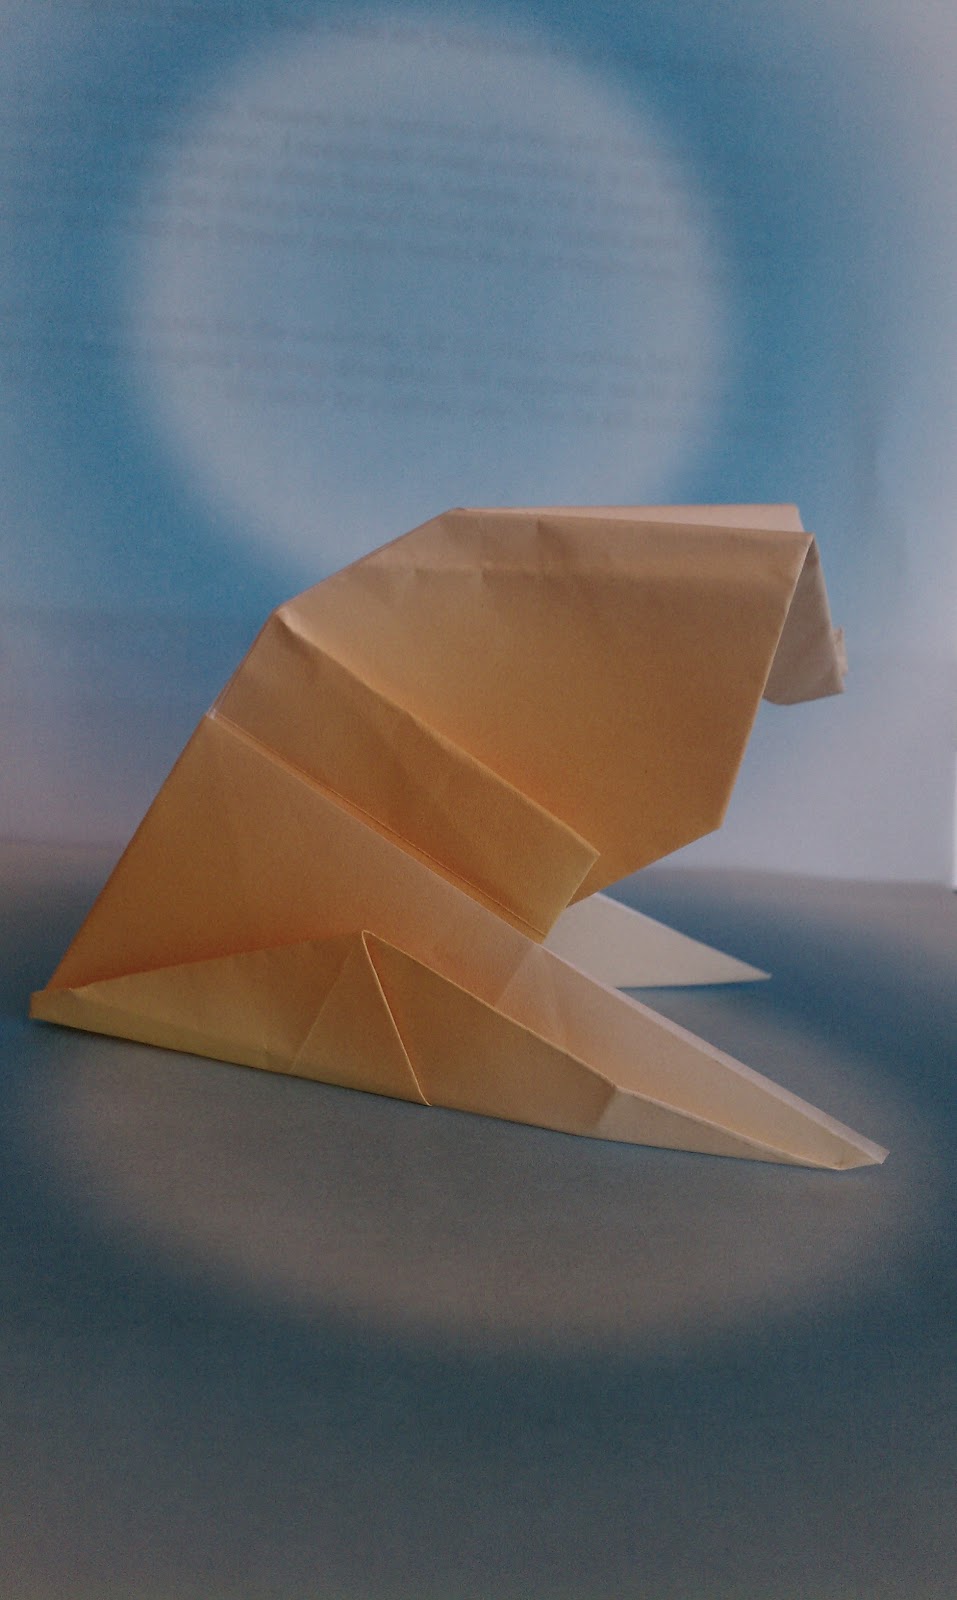
He asked for a sphinx next, but he left before making it.
After the sphinx, I just kept finding more things to make, so I wound up with a small menagerie, plus scenery, and used it to make a summery scene.
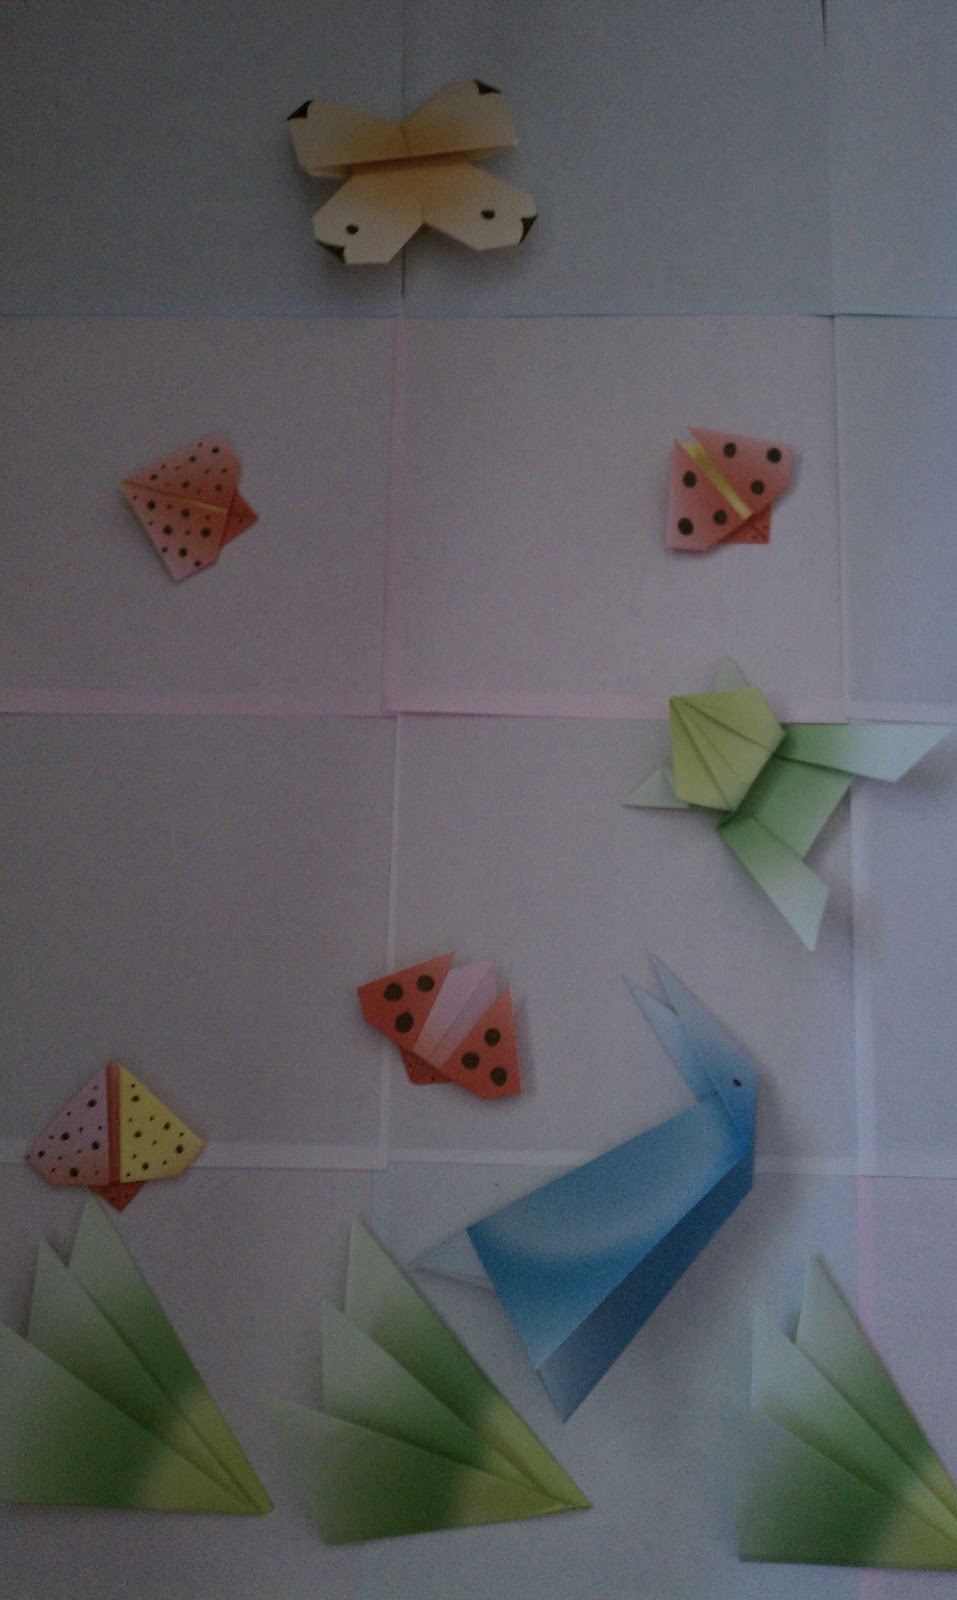 |
| The background is just 6" papers laid out like tiles with their white sides showing. Although some of their color is visible. |
I tried two different ladybug patterns, but I really liked the first one. I was using 6" paper, but I saw on one of the websites that someone had cut up their paper to make 3" squares for their grass. I thought that would make more appropriate ladybugs, too, so I made some more.
 |
| The front one was too cartoon-y. |
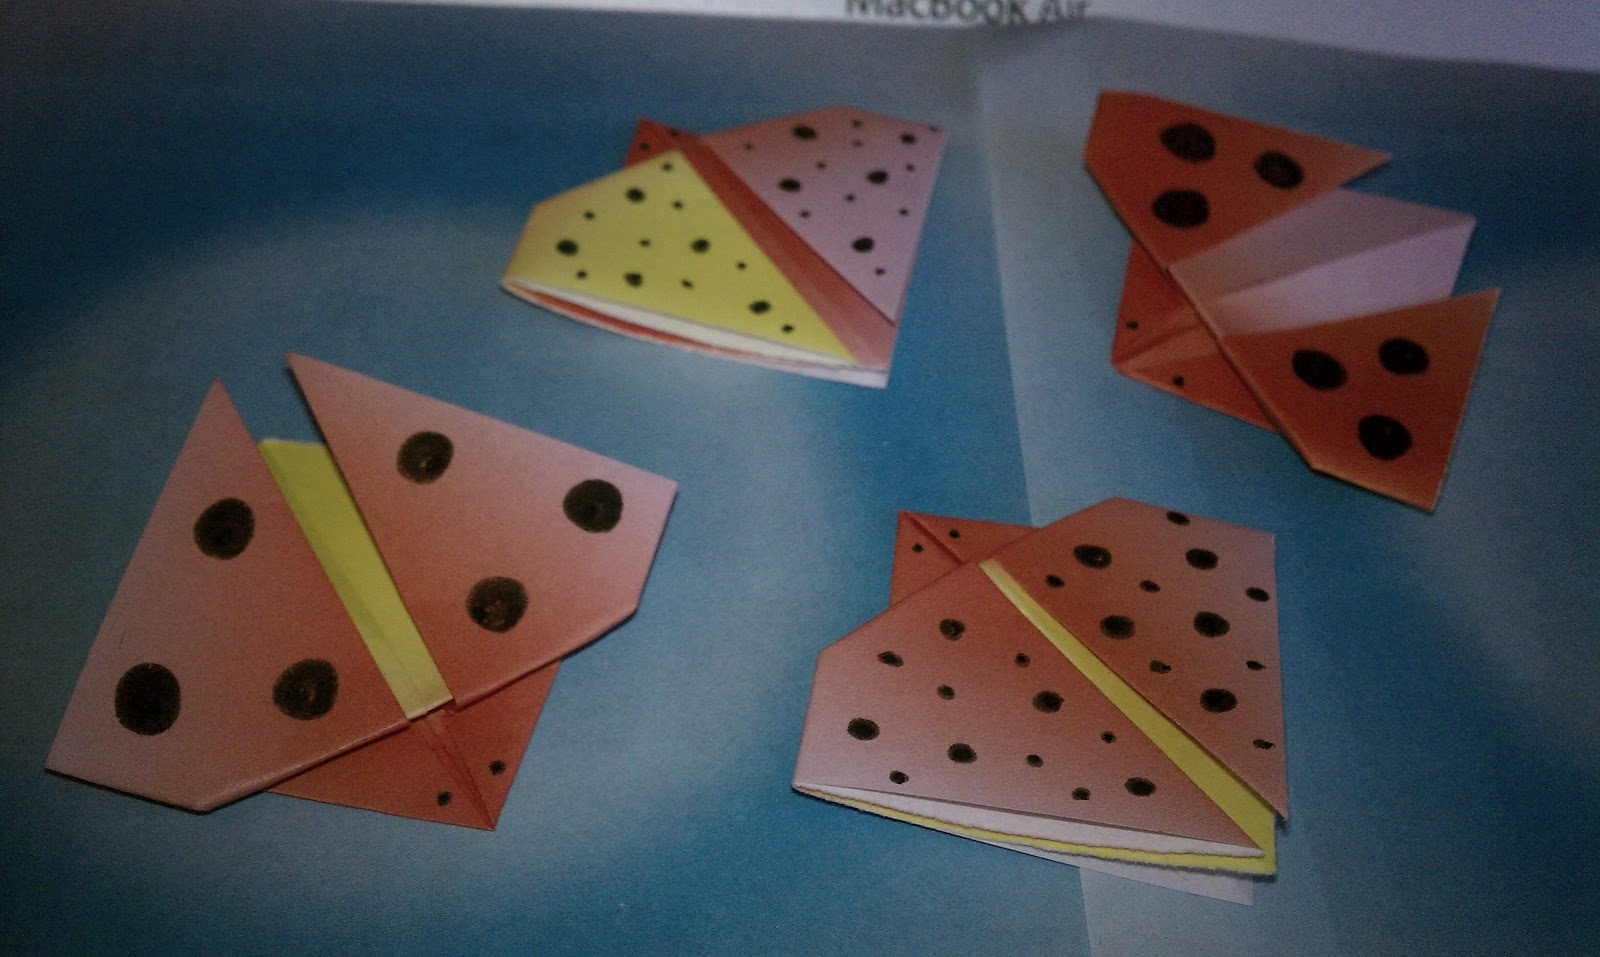
I think the small ladybugs are my favorites, but the frog was fun to make, too.
Besides the fun of the project itself was learning how good my son is at origami. He has really come a long way since he started! I expected to have to help him with most of the folds, but he only needed help with one. Way to go, X-man!
Saturday, May 26, 2012
Project #1 Something Small
Today's assignment was to make something that fits in the palm of my hand using materials in my immediate environment. (Remember, folks, I'm using Noah Scalin's book 365: A Daily Creativity Journal for this creative journey.)
I decided my theme is...LADYBUGS!!! Thanks, Mom! When I was little, she used to call my sister and me "Ladybug" instead of sweetheart or honey. Those may have cropped up, too, but "Ladybug" was more frequent and meant a happier day. Because of this, ladybugs have always reminded me of garage-hopping with Mom.
Enough sappiness, get with the craftiness! My small project was to paint a Micro BlanksTM figurine from Target with a ladybug-esque look.
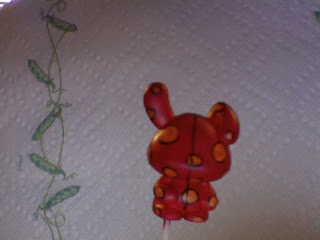 Front View
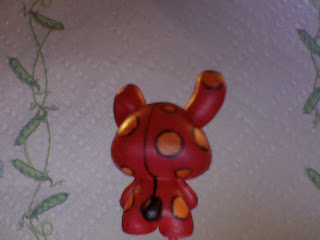 Back View
The stick came with the Micro Blanks kit. It's great! You use it to hold the figure while you're painting it. No more paint all over your fingers! Awesome!
This project took no more than an hour to create. The outlining was the longest part. It has taken much longer to get this post created. Darn Google+ wouldn't upload my photos! Grrrr! I ended up taking new pictures with my webcam. Oh, well. At least it's done and posted now.
Yea for the summer of creativity, day one!
I decided my theme is...LADYBUGS!!! Thanks, Mom! When I was little, she used to call my sister and me "Ladybug" instead of sweetheart or honey. Those may have cropped up, too, but "Ladybug" was more frequent and meant a happier day. Because of this, ladybugs have always reminded me of garage-hopping with Mom.
Enough sappiness, get with the craftiness! My small project was to paint a Micro BlanksTM figurine from Target with a ladybug-esque look.


The stick came with the Micro Blanks kit. It's great! You use it to hold the figure while you're painting it. No more paint all over your fingers! Awesome!
This project took no more than an hour to create. The outlining was the longest part. It has taken much longer to get this post created. Darn Google+ wouldn't upload my photos! Grrrr! I ended up taking new pictures with my webcam. Oh, well. At least it's done and posted now.
Yea for the summer of creativity, day one!
Thursday, May 24, 2012
A Beginning
This is the blog that never ends. It just goes on and on, my friends.
Really, this is just the blog I'm going to write about things I like or do or make.
I got a book (365 A Daily Creativity Journal by Noah Scalin) at Archiver's a couple of months ago that has inspired me to do something creative this summer. I got the book for my hubby, but after reading the intro., I decided that the mini-man and I might get in on the fun, too.
The idea is to do something creative every day. You could pick a theme and then do something around that theme each day. What's great is that you don't have to do the whole year as the title suggests. I love the no-stress approach of this idea! Scalin gives all kinds of ideas for scaling back the project to make it less daunting, like once a week or only for a month. I'm a teacher, so I'll have more time this summer.
The journal gives you starting points for each day. If your theme is, say, penguins, you look at the journal to get your inspiration for the day. Then you do what is says, but with penguins. How cool!
So that's it. That's my plan. I'm going to try to do something creative every day (or two) this summer. And I'll write about it here on my new blog.
Subscribe to:
Posts (Atom)